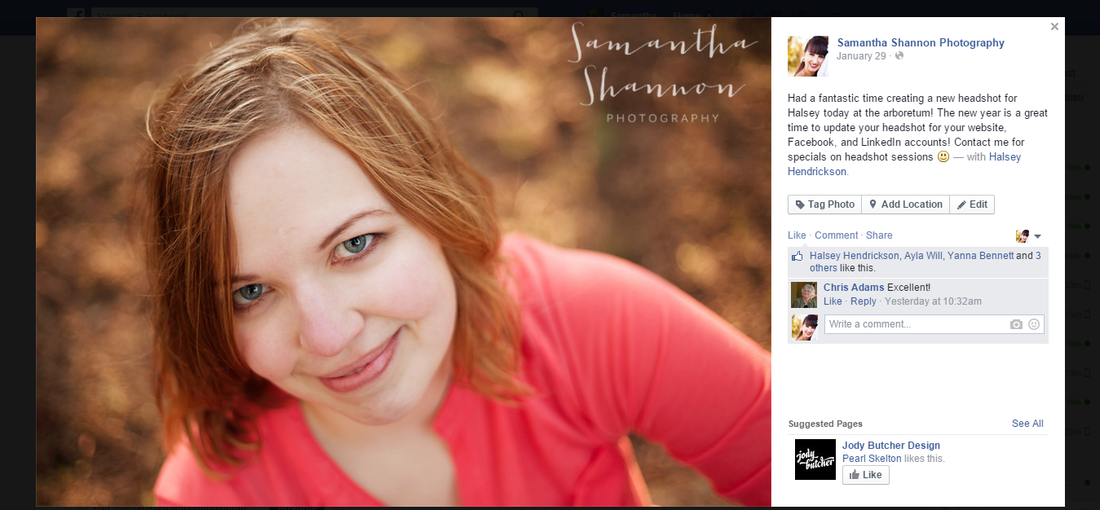
Thankfully, there are a few things you can do to make your photos look their very best on social media. Here are the steps that I use:
- Make sure your photos are in the “sRGB” color space. Don’t let this terminology scare you! Just double check the properties of the files you’ve uploaded from your camera to your computer. If it’s in something else, a photo editing program like Photoshop can convert the files into the sRGB color space.
- Resize for Facebook. Resizing your photo to the exact size Facebook will display it at ensures that Facebook doesn’t take it upon themselves to downsize your large file. This never ends well, in fact, it usually results in some weird graininess of smooshed pixels. NOT fabulous, not at all. I use this awesome file resizing action from MCP Actions. Quick and easy! Sometimes, though, if the photo I’m resizing is actually going to be used for a cover photo, event cover, or profile picture, I may resize it according to the most current Facebook recommendations. These change randomly and probably just for fun–they like to keep it interesting! Just Google “Facebook Cover Photo Size” and look for the most current info.
- Sharpen for Facebook. Sharpening for the internet is different from sharpening for print–so to get the best sharpening for display on a screen, I turn to MCP Actions again! Once I run that action, I normally choose the very lowest amount of sharpening, and then see how it looks. A lot of times I lower the opacity of that layer even more, and then mask over any skin…because I don’t know about you, but I do NOT want my pores sharpened, thankyouverymuch.
- Save as a PNG. Instead of saving your photos as the standard JPEG, try saving your web-sized photos as PNGs. I find they display better on Facebook.
- Upload to Facebook and don’t let them mess with it 🙂 Facebook is ALWAYS changing. Which makes me love them for always trying to improve as a company, BUT it makes my job a little harder! Over the years my advice has changed as far as uploading files to Facebook depending on what options they give you when you upload, but the basic rule of thumb is to not enable any option that is going to change your photo. So if you see a box for uploading “full size” images, check it! Because you resized, right? That “high quality” box? YEP! Check it!
- Give your photographer some love. If you’re uploading images from a professional photographer (and you have permission to do so, right?) don’t forget to give credit with a little link back to their business page or website! The description section in the album or on the picture is the perfect spot for that, and let me tell you, nothing gives me the warm fuzzies like seeing a client super excited to share their images with their friends and family. Makes my day, every time.
That seems like a LOT of steps! I totally don’t do this for every little iphone picture on my personal page, but when I want an image to look its very best, this is what I do! And if you’re a client in 2015, you’ll get a web-sized file of any images you purchase with all of these steps ALREADY DONE! Woohoo! You can just pop those images on to Facebook without having to do any of this 🙂


