So you’re a new photographer, and you’ve got your first photoshoot lined up. What now? How can you make sure it goes smoothly? If you’re wondering how to prepare for a photoshoot, I’ve rounded up my best tips for new photographers that you can use to make sure your photoshoot goes well.
How to Prepare for a Photoshoot
Prepare for your Photoshoot with a Consultation
Learn your client’s story
For most of the consultation, you’ll want to focus on just being a good listener. Ask great questions so that you can understand your client: how do they spend their time? Who and what is most important to them in their daily lives? What made them schedule a photo session? Are there specific concerns they have? Listen carefully, so that you can tailor their photoshoot experience to them.
Set Goals Together
After you’ve listened to their story and concerns, you can make suggestions for the session. I like to summarize what I’ve heard from them as far as what’s important:
- What would they like to showcase?
- What feeling would they like the photos to have?
- Are there specific “must-have” photos?
- Where and how will the photos be used?
At this point, we should be on the same page for the vision for the photoshoot. This is a great time to set a few goals to keep in mind as you plan the rest of the photoshoot. It can be as simple as: “a quiet, relaxed session in a natural setting that focuses on the cozy moments of motherhood.” Or it could be: “a traditional studio session that includes the whole family together in most of the pictures, with most poses ones where everyone’s looking at the camera and smiling, for use in our holiday card and above the mantle.” Whatever the goal is, I’ve found that they’re most effective when they include most of these things:
- 2-3 descriptive words (quiet, relaxed, traditional, playful, airy, sunny, moody)
- a type of setting (natural, urban, studio, forest, field, view)
- the type of final images (traditional, candid)
- what relationship should be the focus of most of the images (mother and child, whole family together)
- where the final images will be used (holiday card, photo album, holiday card, to replace existing wall art)
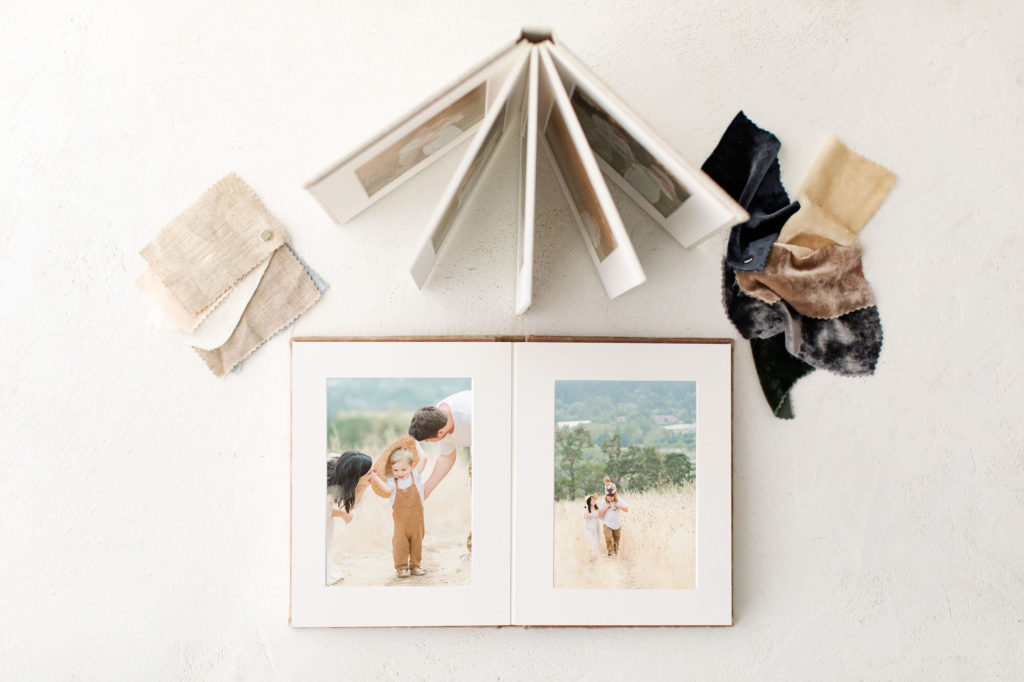
Once you have a goal in mind, it’s a great point to share any product samples you have that will support their goals. If you know they’re considering an album, share an album sample. It doesn’t have to be in-depth, but just getting an idea of their preferences here will be helpful as you design the session and later as you sell printed products. You don’t want to head into designing their holiday card and realize they only love card designs that require a lot of negative space for text and you’ve shot their whole session framed too tightly!


This might look like a printed guide that covers product options, or it could be a code to your online styling service. Whatever resources you like to provide to your clients so they can prepare for their photoshoot, this is a good time to do so. You may also want to plan to follow up with your client if you offer them more planning guidance, such as a personalized styling service, client closet, or in-person wall art design.


Scout Your Location
Now that you know your client’s vision for the session and you’ve set some goals, you probably have a pretty good idea of the type of location you’ll want to work at. It’s time to start researching! If you’re brand new, you may not have favorite locations to photograph at yet. Here are four key steps to scouting your location:
Search online for locations
in line with your vision: google maps satellite view is my favorite but you might also crowdsource by asking your photographer friends, googling photo locations, or checking in with local venues.
Visit the locations
Now that you’ve got your list of possible locations, it’s time to visit them in person. It’s so helpful to see what they look like at the exact time of year and at the same time of day if possible. This way, if there’s anything you need to adjust for, you know about it well in advance. Walk around a bit and explore. Will it be easy for your clients to walk around if they have mobility issues or small children? Are there safety concerns? Does it look like you expected it to look from your online research? Most importantly, where are the pockets of great light you plan to use?
Use a sun tracker app
Speaking of light, it’s really best to visit the location at the time of day you’ll be there shooting, but that may not always be possible. Enter: a sun tracker app. This program will allow you to enter any date in the future, choose an exact location, and see where and when the sun will set exactly. Some apps even have a preview function, so you can see what it will look like as you’re standing there. If you can’t get to the location in advance, SunCalc does a good job; if you’re standing in the spot and want to preview the sun’s angle, try the Sun Surveyor app. Once you have that information, you can make a plan about where exactly to shoot at the location.
Research Permits and Parking
Lastly, check that you have any necessary photography permits for the location. Don’t forget to check on any parking fees or parking problems you and your clients may encounter the day of the session, and inform your client well ahead of time.
Make a Day-Of Game Plan for Posing and Location
Now that you know the client’s goals and have found the perfect location, you can start envisioning exactly how the shoot will unfold. I like to make a game plan of the photoshoot at this point. I’ll plan two to three specific locations with great light within our chosen location. I’ll also make a checklist of any “must-have” photos the client requested along with any specific poses or prompts I want to try in order to focus on their goals. If you need to rent any gear, now’s the time to do that, too. I like BorrowLenses.com.
How to Prepare for a Photoshoot: The Day Before Your Session
Check the Weather
Depending on the season, this might be something you’ll want a solid backup plan in place for before you even begin planning your session. If you’re planning an outdoor session during the rainy season, it’s wise to start out with a rain date or indoor location already in place. That way, if you check the weather the day before your session and the forecast is too wet to photograph in, you can easily contact your client and plan to switch to your “rain plan.” This is much harder to do when it’s a last minute thing that your client isn’t expecting.
My favorite way to keep an eye on the weather is with an hourly weather checker. Keep an eye on the cloud cover and precipitation percentages forecasted, and you’ll be all set. I talk more about how I handle rainy day photo sessions here.


Confirm with Your Client
After you’ve confirmed the weather is a go, reach out to confirm your session with your client. I like to do this the afternoon before the session via whatever way we’ve been communicating (usually e-mail). I keep it short and sweet, and include a GPS-friendly address and any parking information they might need. If you haven’t seen them face-to-face yet in a consultation, you’ll also want to give them a way to recognize you to avoid that awkward…”are you who I’m meeting” moment at a busy location. I also will often send a quick text when I’m headed out to the location on the day of the session, both as a reminder and so that they have my number in their phone if they have trouble finding me.
Prep Gear
The last thing you’ll want to do to prepare for a photoshoot is prep your gear. I do this the day before my session, so that I won’t be running around doing things last minute. I like my brain to be fully in creative mode on the day of a session, so I leave the logistical stuff like charging batteries and cleaning lenses for the day before. Here’s my checklist of things to prep:
- charge batteries (including backup battery)
- clean lenses
- clear cards (and make sure I have backups)
- double check settings are back at my “normal” settings in case I was last shooting in a low light and have a super high ISO I won’t need, or a really off Kelvin white balance
- pack bag with gear and backups
- gather all bag AND other essentials in one spot: blankets for clients to sit on, emergency kits, fans, water bottles, stepladder, reflector, location permits, product samples, etc.
Now That You Know How to Prepare for a Photoshoot, What Next?
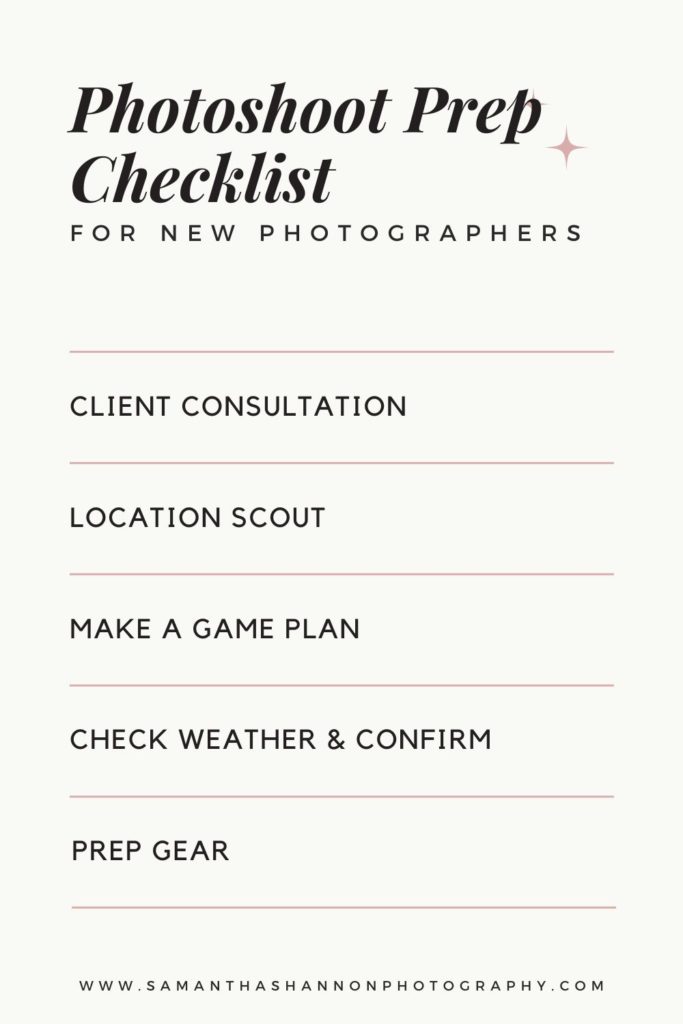
I hope this post helped you prepare for your next photoshoot! Pin the image below if you want to save this checklist for the next time you have a photoshoot to plan. If you’re looking for more posts about photography, head over to learn what’s in my camera bag at the Best Lens for Family Portraits, or check out my 3 Light and Airy Editing Tips here.
Want a Photoshoot Planning Sheet You Can Use For Your Next Session?
I’m sharing the exact questions I ask my clients during a consultation to better prepare for their photoshoot. It’s a three-page printable PDF that includes an expanded Photoshoot Prep Checklist with everything mentioned in this post. Drop your email in the form below and I’ll send it right over to you!


PS, this week in my series about favorite photography posts from around the world, I’m sharing my friend Reshma’s post about Legacy Photography in Orange County. She has some really powerful things to say about why photography is so important, so swing by and visit her post!


[…] How to Prepare for a Photoshoot for New Photographers […]
Samantha this post is so informative and helpful, I wish it was something I read years ago! It really highlights the amount of detail and planning that goes into a session.
Wow, this is such great information!
So much good information! Thank you for sharing! It’s so important to really get to know your clients and make a connection.
[…] I love showcasing my photographer friends, so please check out this amazing blog post by Samantha – How to Prepare for a Photoshoot. […]
[…] I love showcasing my photographer friends, so please check out this amazing blog post by Samantha – How to Prepare for a Photoshoot. […]
Your blog is literally the place I go to for good information!
This tips are so spot on! Getting your camera prepped, including making sure your settings are back to normal is such a great way to start off a session prepared! I also love creating a posing guide before each session. When your brain freezes, you can still have a plan!